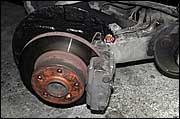
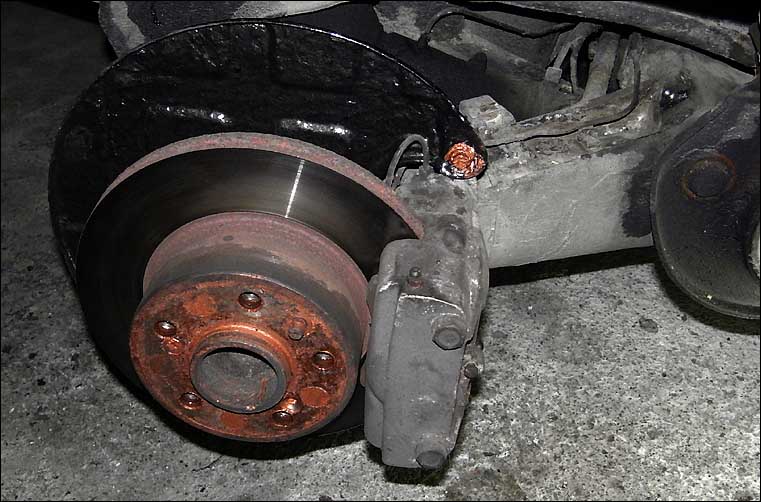
The Break, which is made for heavy loads, has ventilated brake discs at the rear.
|
|
Rear brakes
The rear brakes are not always so much in use, and tend to get stuck.
They must therefore be controlled at regular intervals.
And brake hard some times when you have heavy loads.
The brake pads must have sufficient brake lining, and must be able to move freely.
The brake discs must be shiny on both sides, and sufficiently thick.
|
|
|
Brake lining
Min. 3 mm
Brake disc Break
Min. 16 mm
|
|
| 1 | Brake caliper |
| 2 | Brake disc |
| 3 | Set 4 brake pad (bremseklosser) |
| 4 | Caliper piston |
| 5 | Piston seal |
| 6 | Piston seal |
| 7 | O-ring seal |
| 8 | Brake pad spring |
| 9 | Guard sheet met |
| 10 | Guard sheet met |
| 11 | Pin |
| 12 | Pin |
| 13 | Drain screw |
|
|
 The drawing is borrowed from the Citroën CX' parts list
|
|
| 14 | Drain screw cap |
| 15 | Capscrew |
| 16 | Capscrew |
| 17 | Capscrew |
| 18 | Capscrew |
| 19 | Capscrew |
| 20 | Stud |
| 21 | Piston washer |
| 22 | Plain washer |
| 23 | Spring washer |
| 24 | Fixing washer |
| 25 | Nut |
|
|
|
|
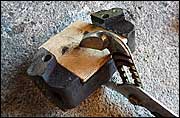
- On the caliper there is a cover (10) fastened with a long bolt( 18 ).
Detach the bolt a little and remove the cover with a flat screwdriver.
- Unscrew the nut and pull out the bolt while you press inn the shoe spring (9) a little bit.
- Remove the brake pads.
- Clean well. Blow clean with compressed air.
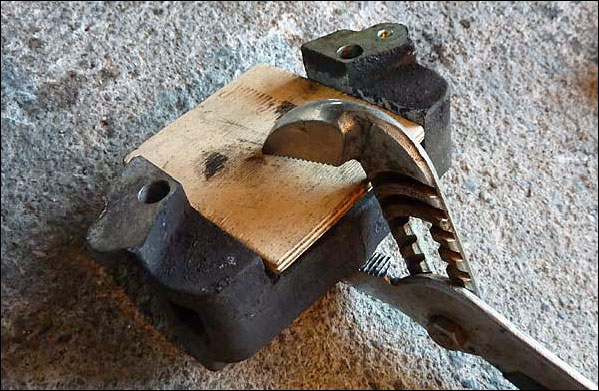
- Put in 2 thin plywood sheets the size of brake pads (to protect the brake disc).
Use a large screwdriver or similar and press both pistons fully back.
Remove the plywood sheets.
- Put in new brake pads (make sure that the brake lining are facing the brake disc).
The pads must be able to move freely.
- Put the brake pad spring in place and put in the bolt (add a little copper paste on both). Put on the nut.
- Put on the cover and tighten.
- Brake in the brake pads.
|
|
|
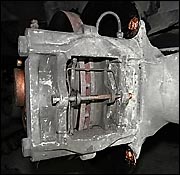
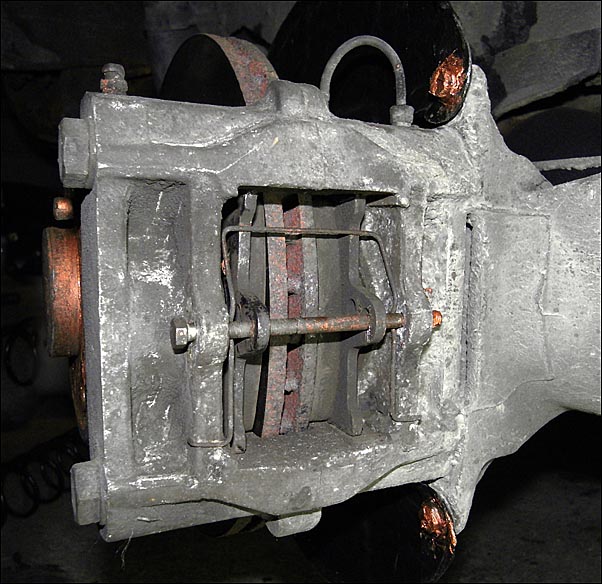
Caliper with the cover removed.
|
|
|
|
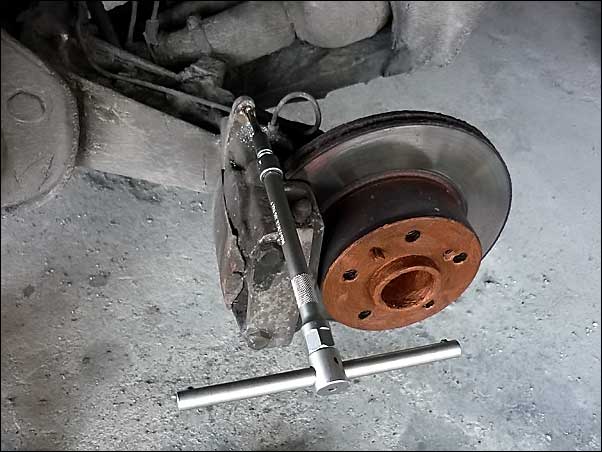
- Unscrew the hydraulic pipe.
- Remove the brake pads.
- Unscrew the two bolts holding the caliper in place.
- Remove the two halves (be careful to not get hydraulic fluid on the brake disc).
- Clean the new caliper and press inn both pistons.
- Use a file and file the area where the brake pads will be moving.
- Screw on the caliper (watch that the O-ring is OK and that both surfaces are clean).
Tighten 7 mdaN (70 Nm).
- Screw on the hydraulic pipe.
- Mount the brake pads.
- Bleed the brakes (with the car in the top position).
|
|
|
Press in the caliper pistons like this.
|
|
|
• The front and rear brakes are independent of each other.
• The rear brakes are load dependent. The heavier your load is, the stronger the brake force will be.
|
|
 The drawing is borrowed from the Citroën CX' service manual
|
|
|
|
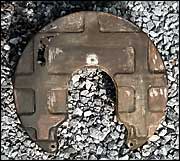
Before.
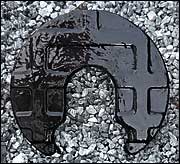
After.
|
|
|
Repairing the brake covers
The brake cover can be in bad shape, so it is best to fix it sooner
the better.
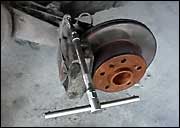
You remove it by unscrewing the three small bolts.
If these are real corroded, they will easily snap off. If so drill a new hole
and make new threads.
Scrape away all loose rust with an old cut iron and then with a wire brush.
Put on corrosion treatment, and then primers etc. If there are holes, put on
aluminum tape on both sides of these. And so two layers of black lacquer, and possibly a layer
of under-body treatment.
When mounting make sure that the top and bottom
screws (19) is facing towards you
(that you don't put them in from the other side). And that the brake shield is put on the correct way
(if you imagine your
shield as a bowl, then the upper side will be facing you). Put copper paste on the threads of the screws before
you put them in.
|
|
|
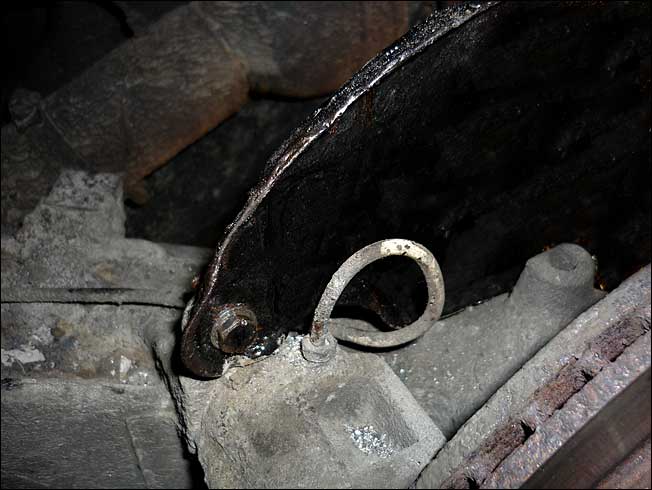
New threads.
Be careful so the brake pipe don't touch the brake cover.
|
|
|
|
|
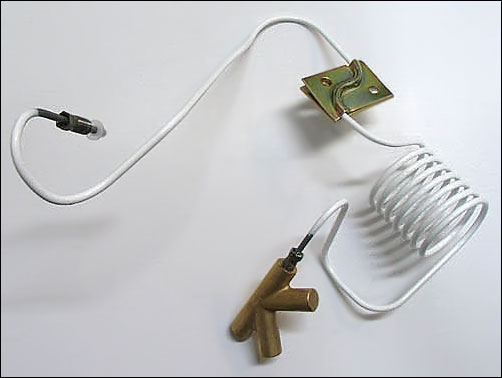
Brake pipe for break, left hand side.
|
|
|
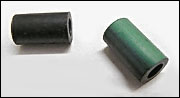 Gaskets for hydraulic pipes.
|
|


|